I’ve been continuing to work on my home project, and thought I’d drop a video of some of the new features I’ve gotten in (the video is 1920x1080, view it full screen to see it in all of its glory):
- Skeletal animation
- Animation blending
- Animation notifications
- Attachments
There are also a few features I’ve had for a while but haven’t shown, so these are also in the video:
- Pathing (using Recast)
- Physics (using PhysX)
- Sound (using FMOD)
- UI / Font rendering
- GPU profiling via counters
- Character controller (also using PhysX)
Frame breakdown
I always love seeing frame breakdowns, so thought I’d do one for my engine. Note that I’ve gamma-corrected most of the screenshots so that they’re not too dark to see.
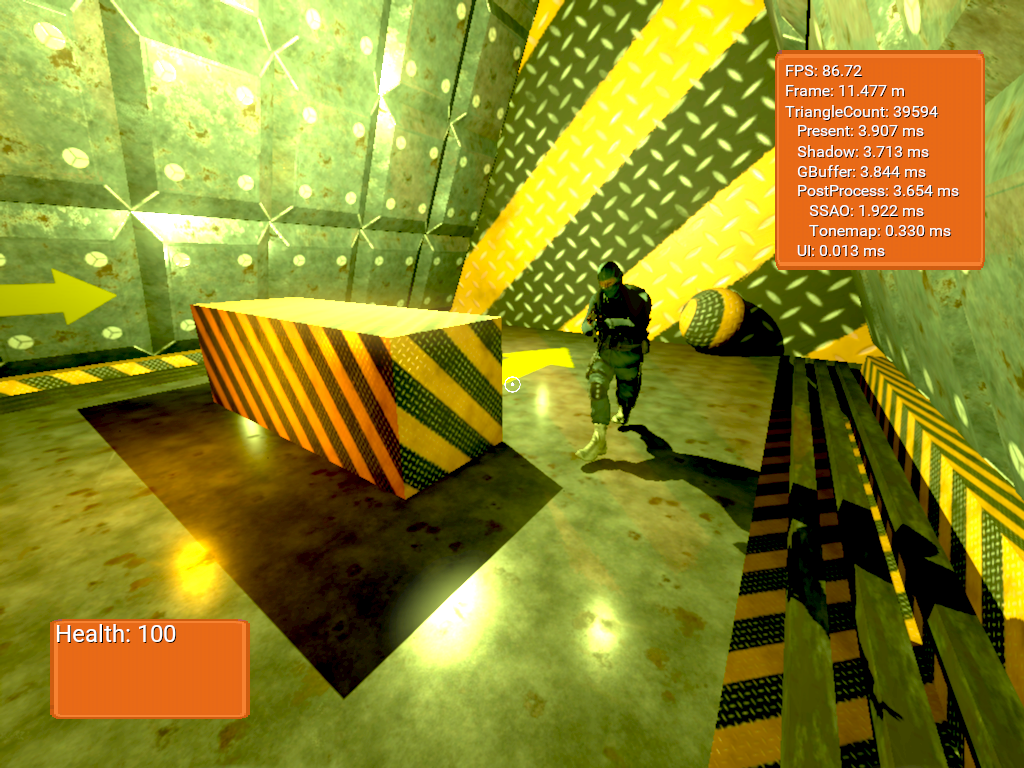
Here’s the final output to start:
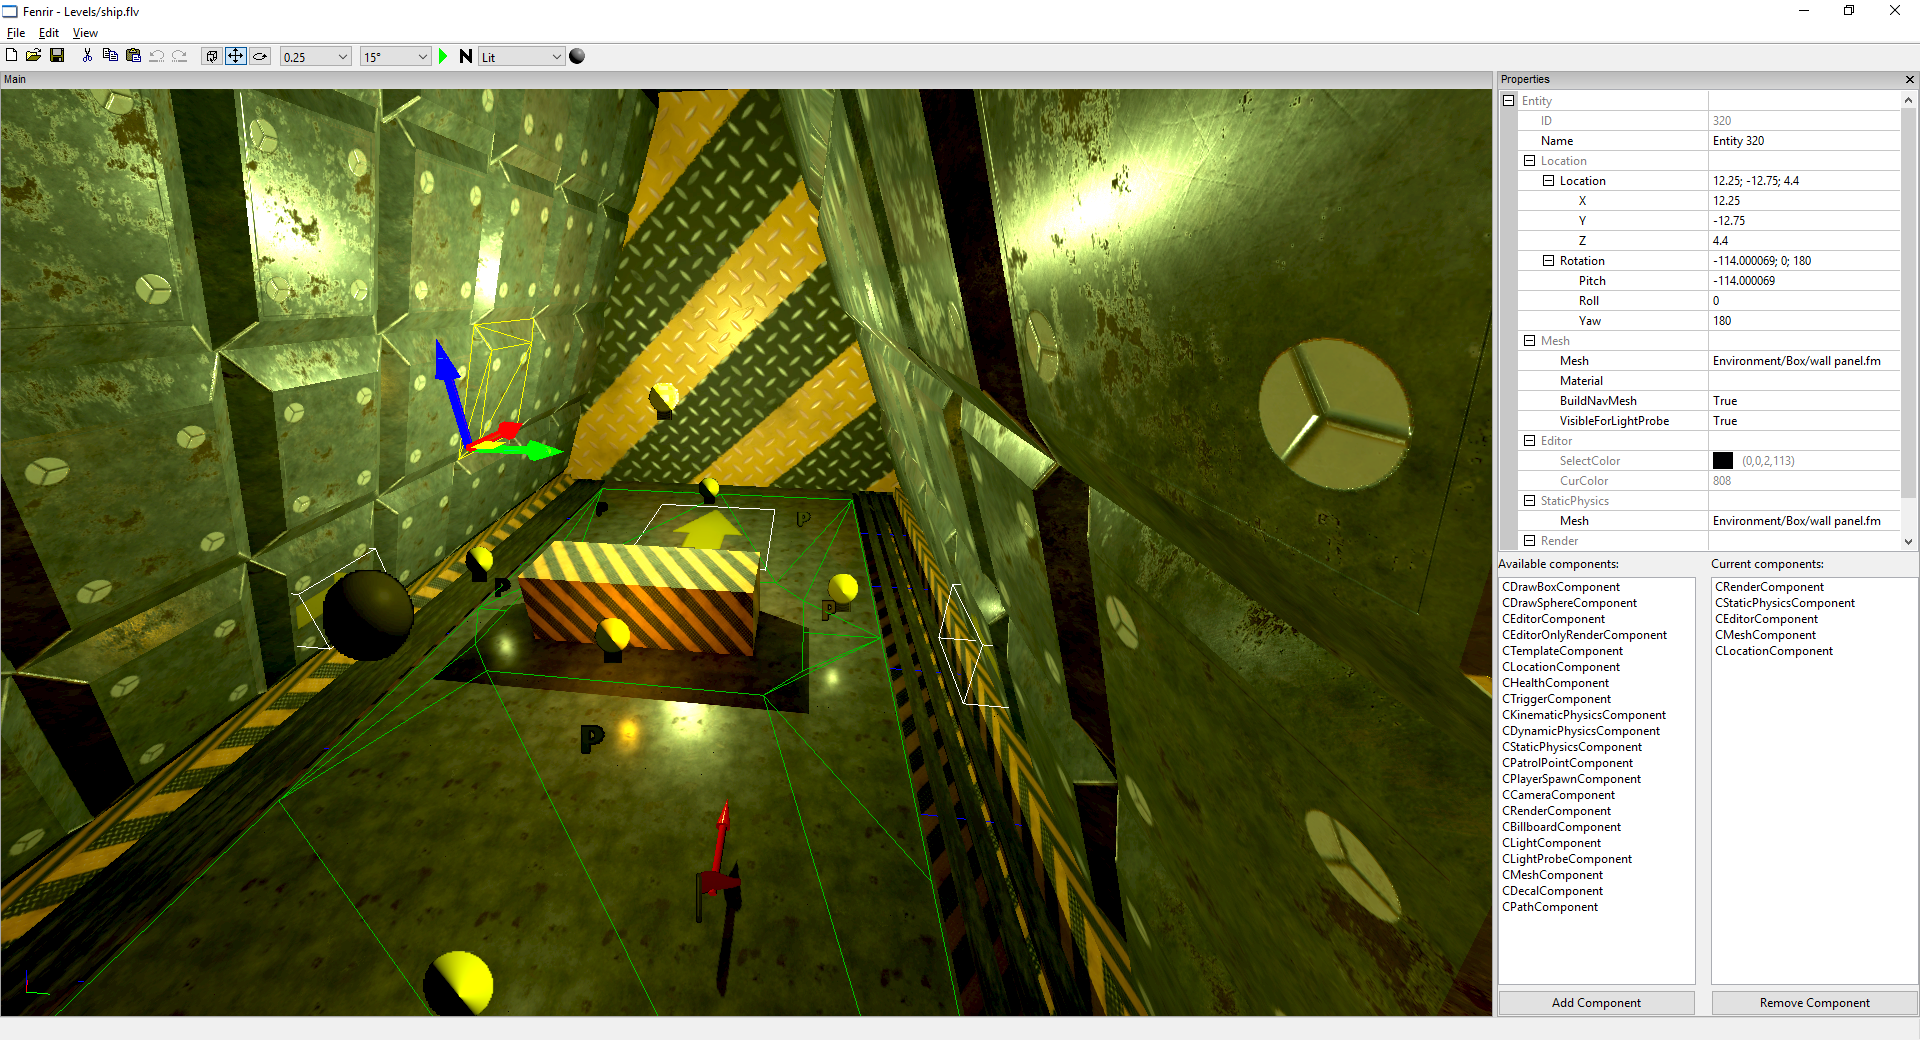
Here’s a screenshot of the level being built in the editor (including the generated navmesh). The editor was written in wxWidgets and links the engine as a static library:
Shadow cubemaps
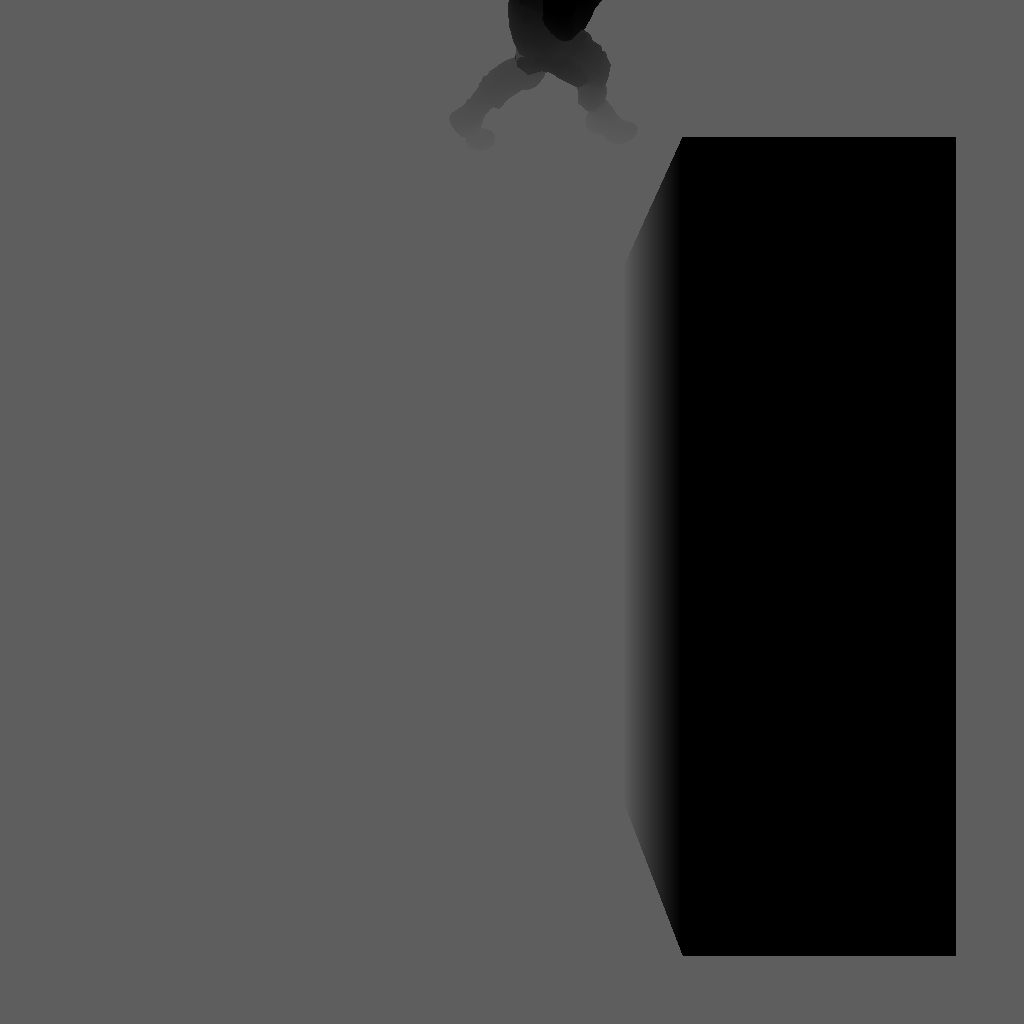
The first thing that happens is a depth-only pass is made into a cube map for any visible shadow-casting point lights. I use a geometry shader to do one draw call for all 6 faces, which winds up being faster (for me) than drawing the geo for each face directly. I’m using standard shadow mapping for now. Here’s the bottom face of the light right above the character:
GBuffer
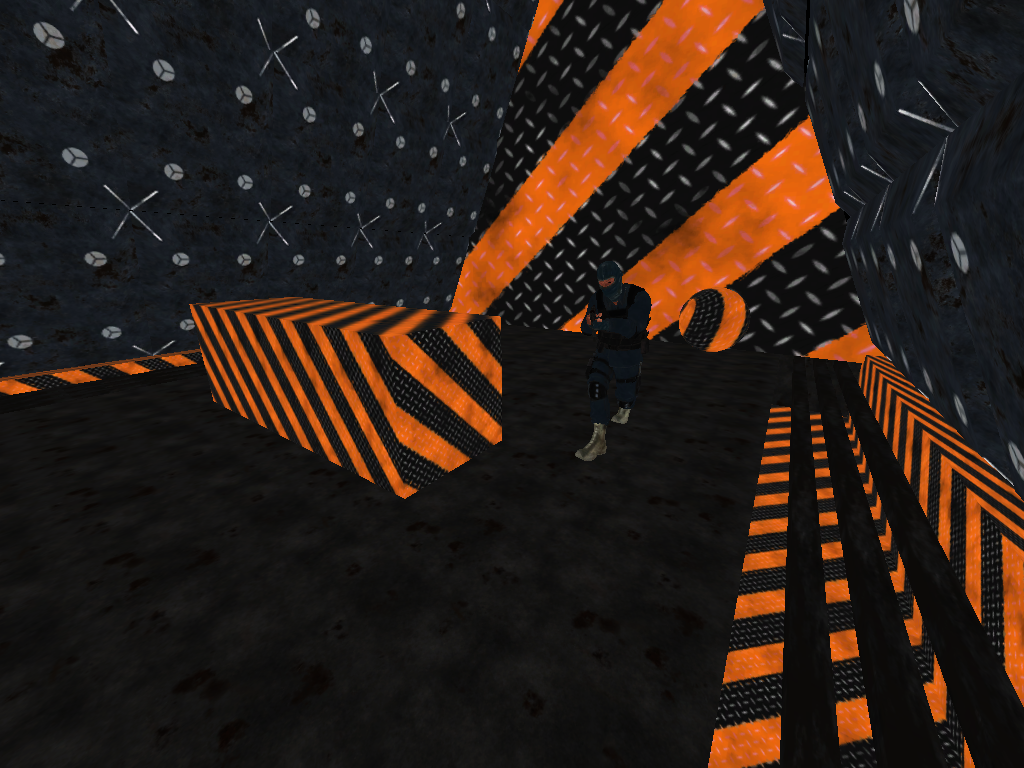
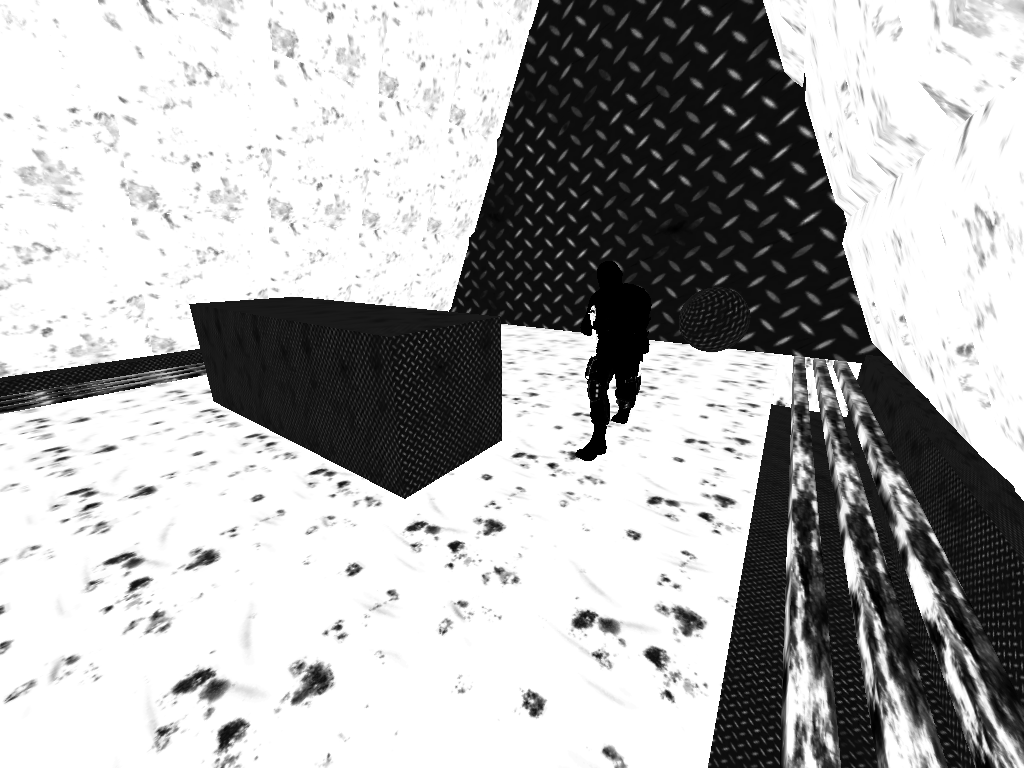
Next up is the GBuffer pass. It’s all done in one draw call into 3 render targets (plus depth buffer). First is the albedo target:
 The gbuffer renders the metallic value into the alpha channel of the albedo render target:
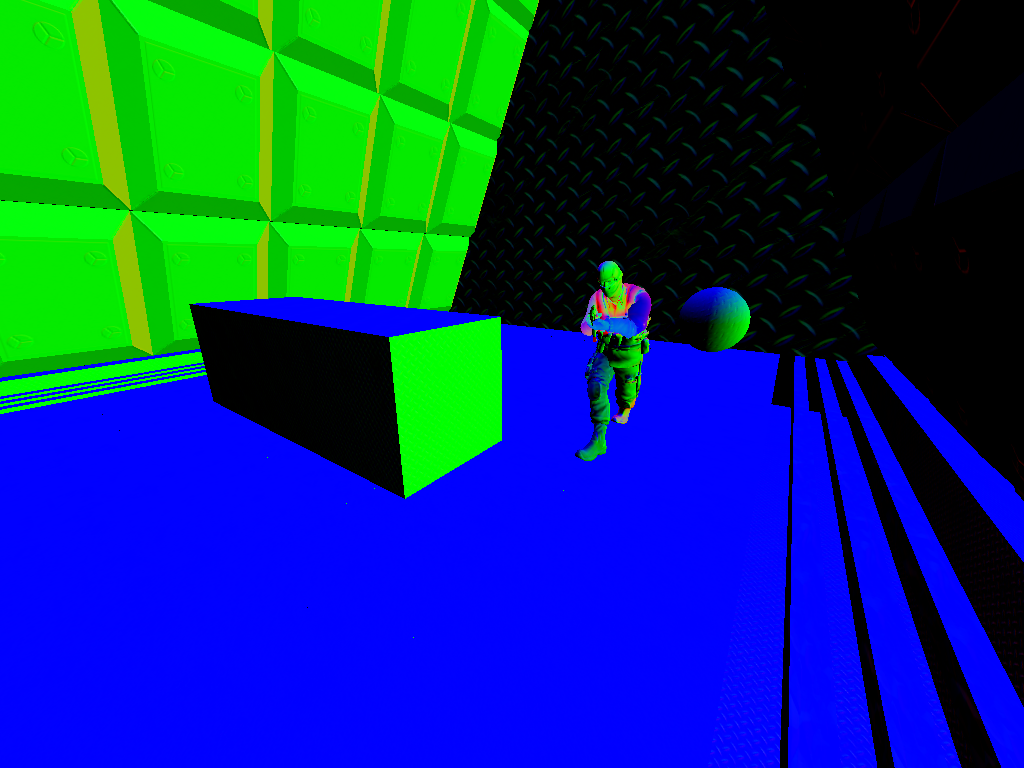
 It also renders the view-space normal into a 16-bit floating point render target:
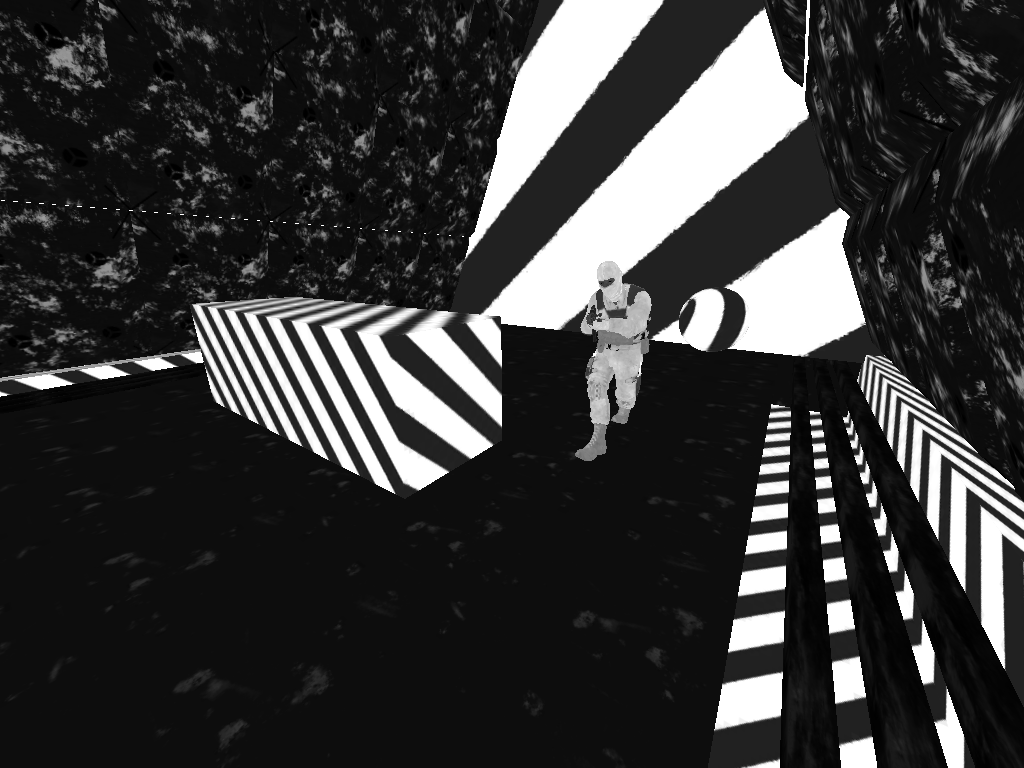
 And renders the roughness value into the normal render target’s alpha channel:
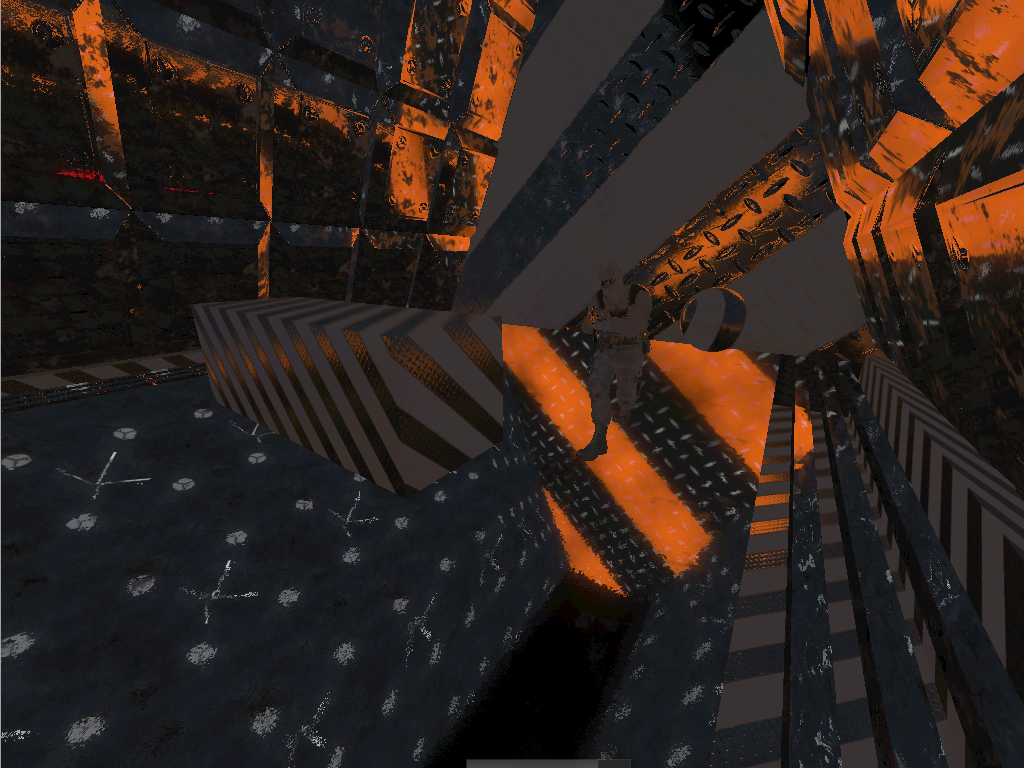
 Finally, it renders the reflection values into the final render target. It uses an parallax corrected importance-sampled cubemap with pre-filtered roughness mip levels that is built in the editor, and then has a fallback cubemap that it uses if it can’t find a value in the importance-sampled cubemap. You can see the roughness values coming into play in the reflections on the floor.
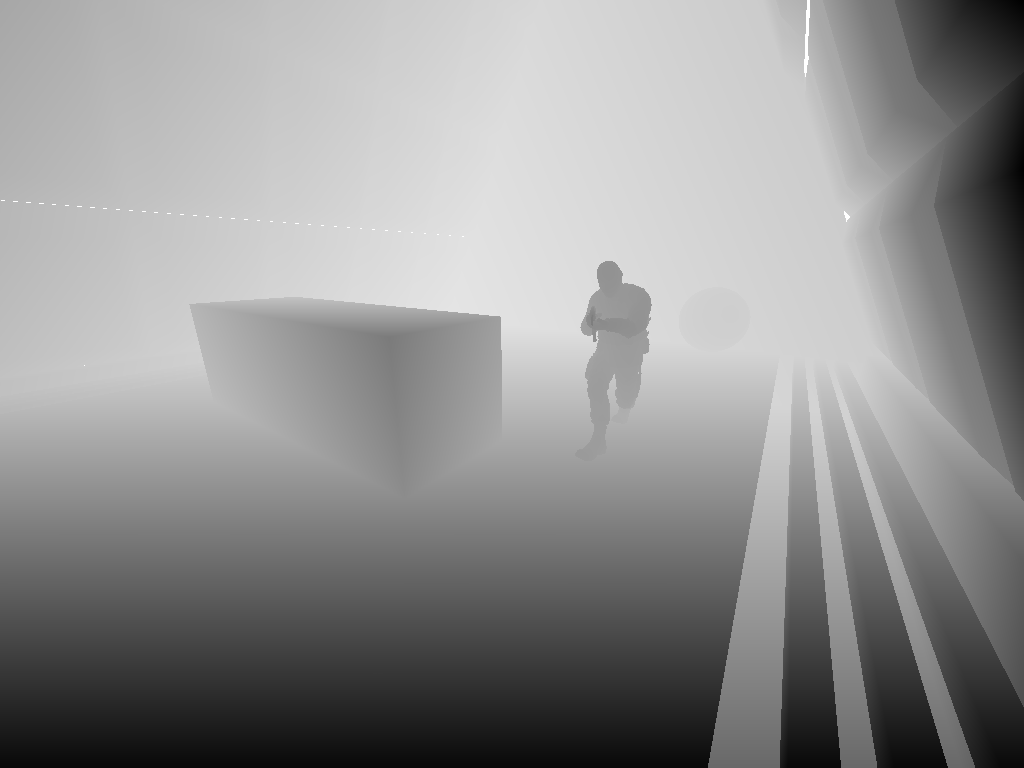
 And here’s what the depth buffer looks like for the scene:
Screen Space Decals
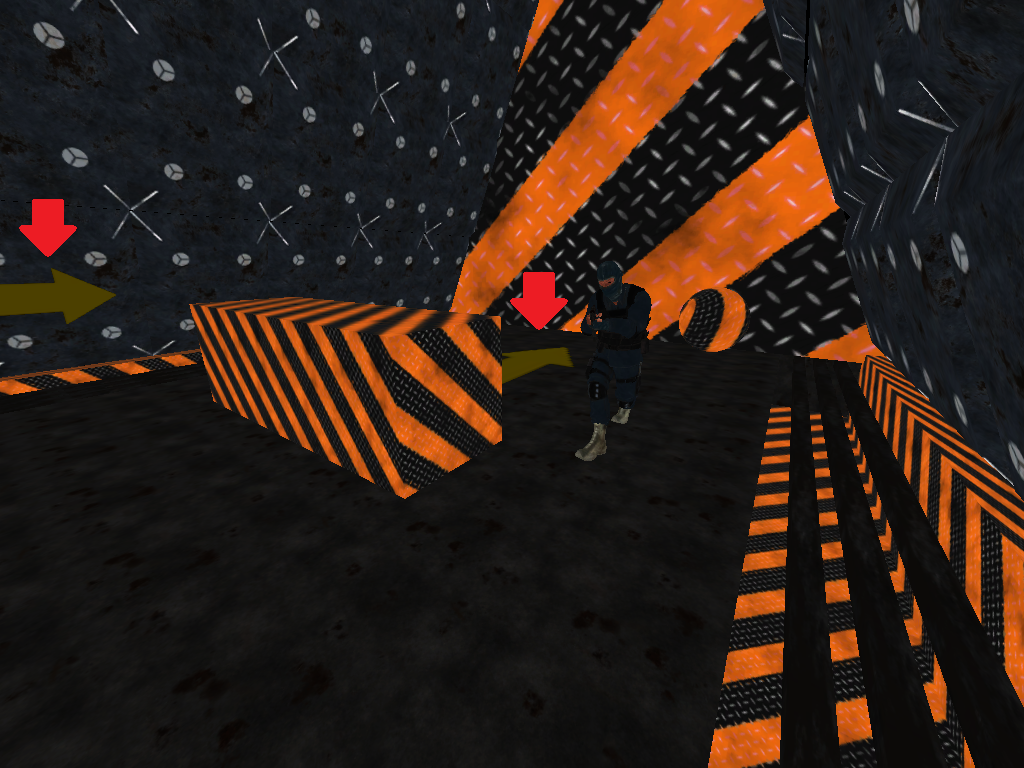
After the GBuffer pass, screenspace decals are composited in. In the case of this decal, it only has an albedo component, so it doesn’t modify the other buffers. I’ve added red arrows to show where the decals are, as they blend in rather well otherwise.
SSAO
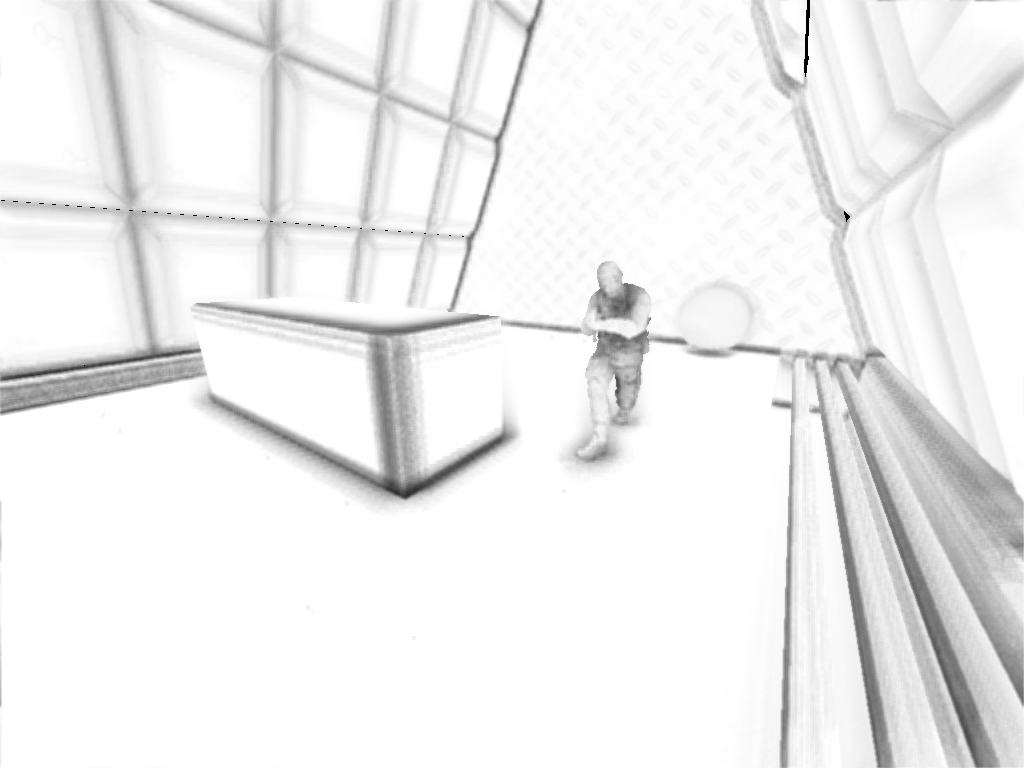
After the GBuffer pass, I do an SSAO pass to add ambient occlusion:
Lighting
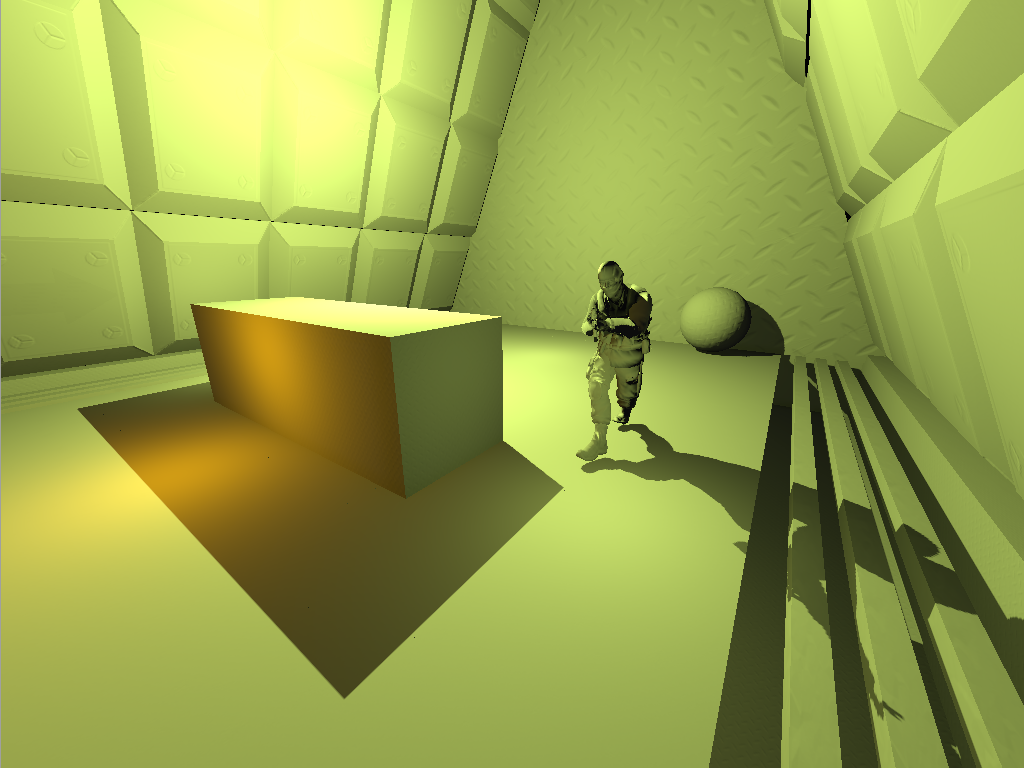
Next up is the lighting pass. I’m using a PBR light model based on Brian Karis’ 2013 Siggraph presentation. This is what the individual light contributions look like when they’re all added up:
Motion Blur
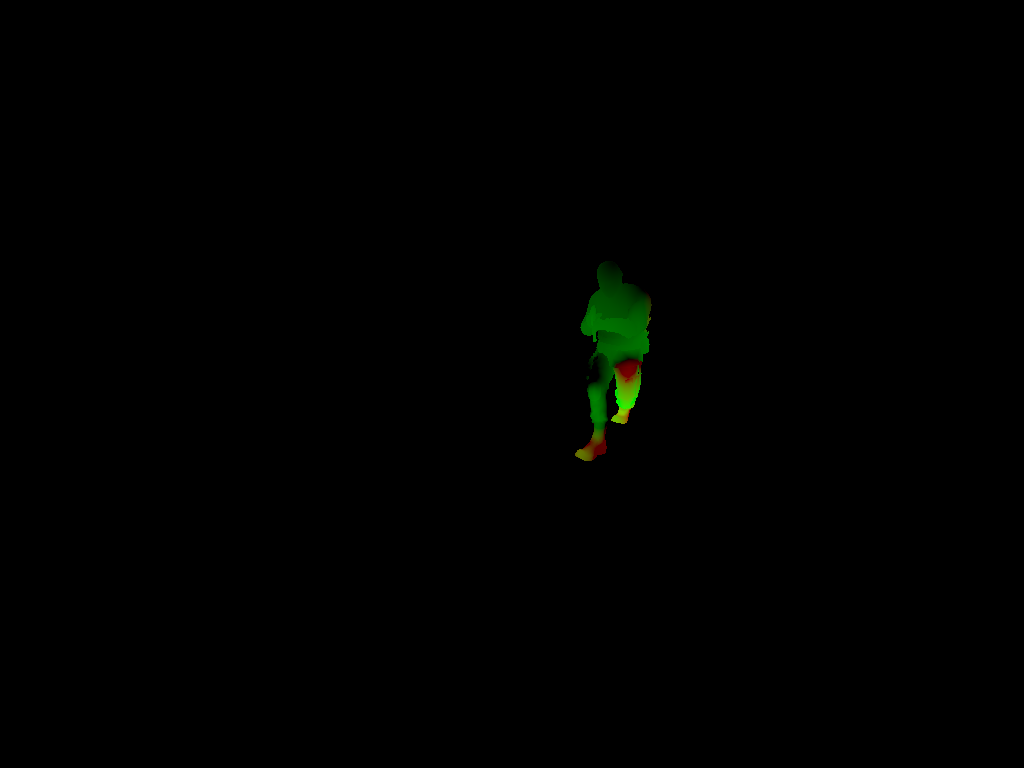
After lighting, I apply motion blur to the scene via the motion blur buffer, which stores changes in screen space position since the last frame (red is motion in x, green is motion in y). As you can see here, only the character was moving on this frame.
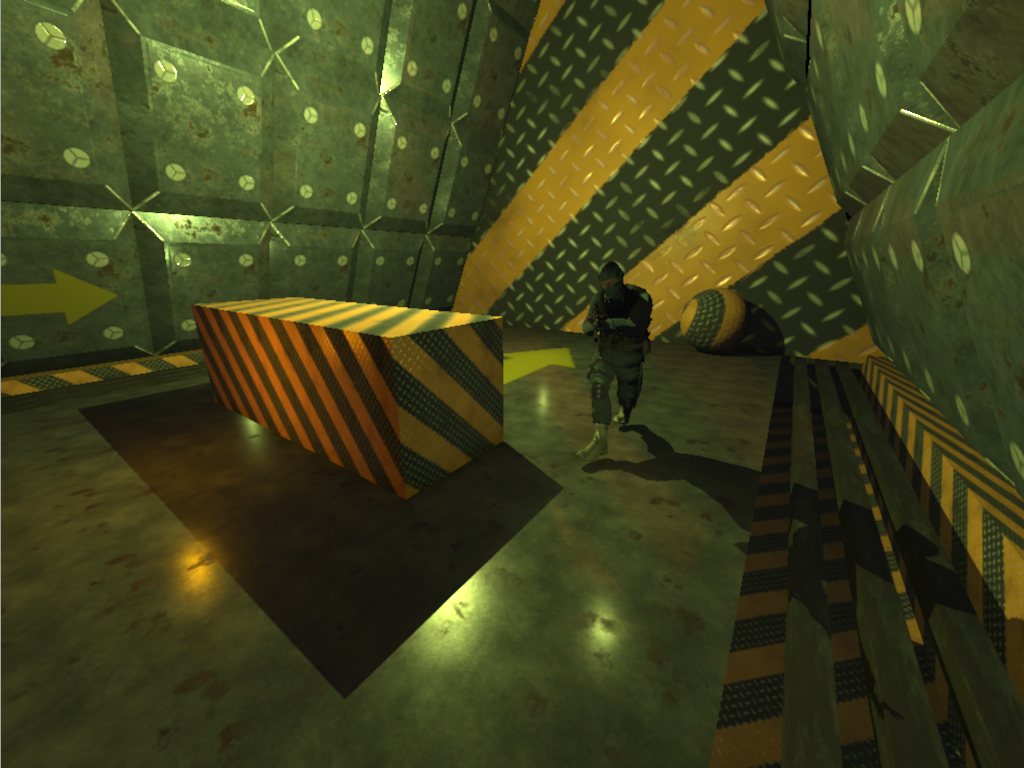
Here’s what the scene looks like after motion blur was applied:
Eye Adaptation
I also do eye adaptation based on the scene brightness. First, I downscale the scene to 128x64 and take the brightness of each pixel in the output target (all images in this section are scaled up to make it easier to visualize what’s happening).
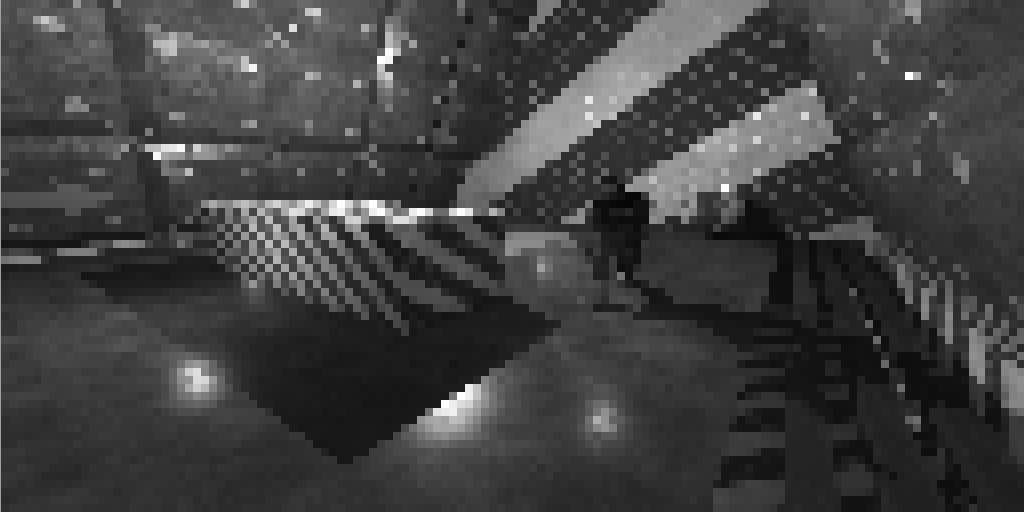 I then do a bitonic sort in the compute shader, which gives me this result:

I then take the pixel corresponding to the brightness level I want to use (I take the median value), and put it into the history buffer, which does a calculation based on the last 16 frames and gives a single brightness result that I use in the bloom pass. In this case, the history buffer is constant since I had been standing still to capture this frame:

Bloom
Once I have the brightness from the eye adaptation pass, I use that value to pull out only the pixels in the scene that are above that threshold:
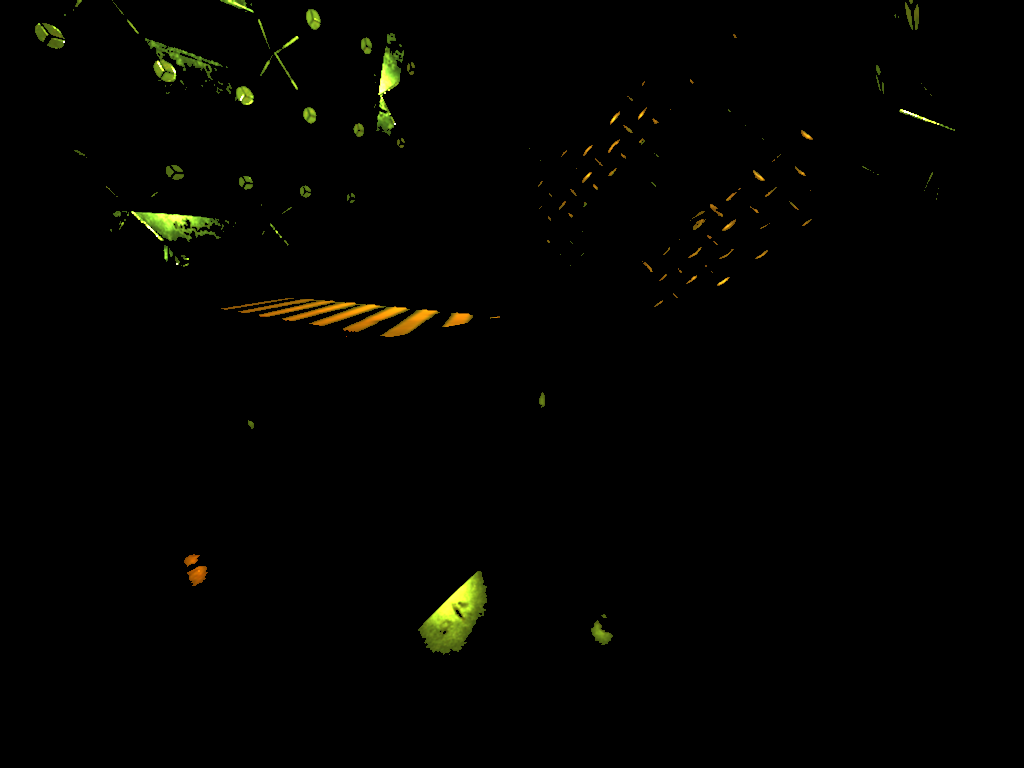 I then scale it down (some scale steps are skipped here):
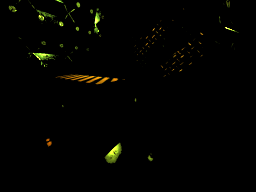
 I then blur it horizontally and vertically with a separable gaussian blur:

 Then upscale it using bilinear sampling back to the size of the render target:
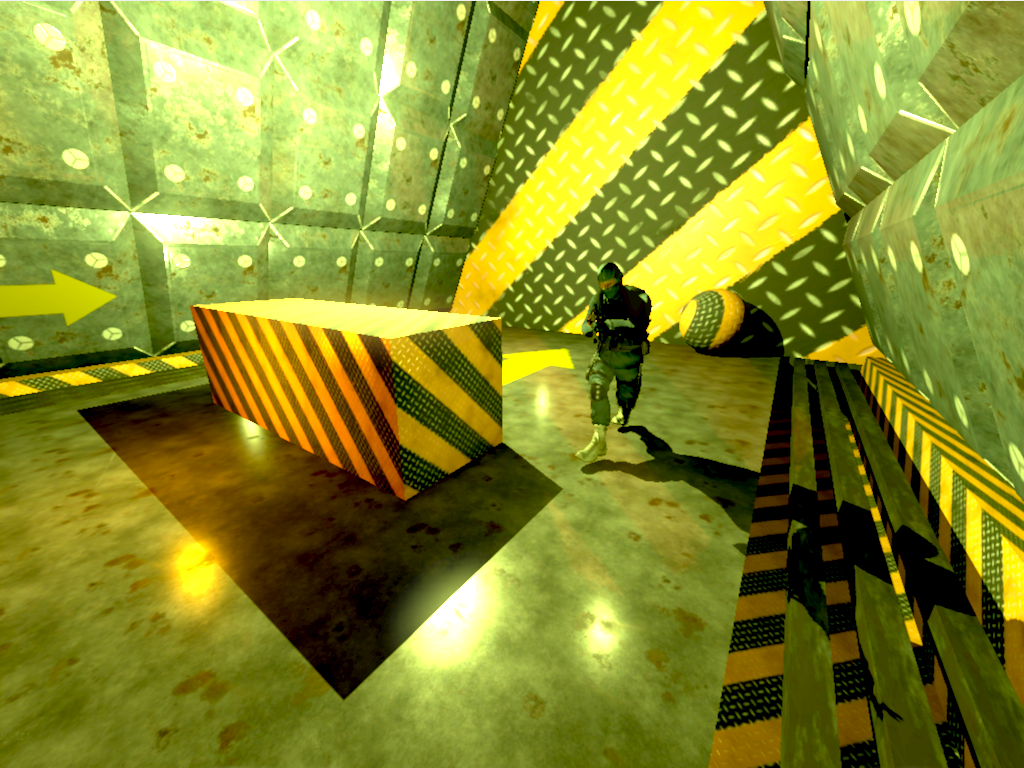
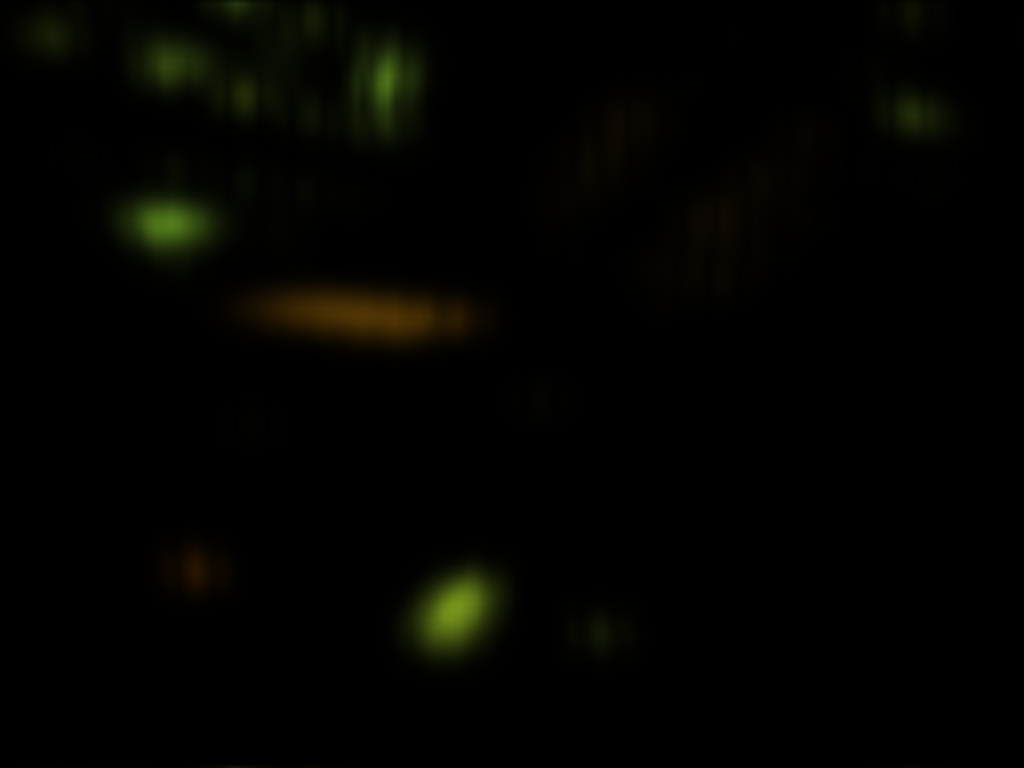 I finally add the upscaled texture back to the original scene, resulting in this:
Tonemap
Since the pictures are already gamma corrected, there’s not much point in showing a picture from the tonemap pass. I’m using the well-known filmic tonemapping curve from Uncharted 2.
UI/GPU Profiling
Finally, I draw the UI on top of the scene, which includes GPU profiling data using counters.

Assets
Here’s a quick list of where all of the assets used in the scene came from:
- I built all of the environment models in Blender and textured them in Substance Designer.
- Character model and animations are from https://www.mixamo.com
- Weapon model is from https://www.chamferzone.com
- Footstep sounds are from http://www.sonniss.com
- UI background is from https://www.kenney.nl/assets/ui-pack
- Using the Roboto font from https://fonts.google.com/specimen/Roboto
References
Here are a selection of references I used when developing the renderer. Thanks for reading!
General
Destiny’s Multi-threaded Renderer Architecture
GBuffer
Destiny: From Mythic Science Fiction to Rendering in Real-Time
Real Shading in Unreal Engine 4
Moving Frostbite to Physically Based Rendering 2.0
Screen Space Decals
Screen Space Decals in Warhammer 40,000: Space Marine
SSAO
SSAO Tutorial
SSAO
SSAO Shader Tutorial
Lighting
Real Shading in Unreal Engine 4
Moving Frostbite to Physically Based Rendering 2.0
Eye Adaptation
Automatic Exposure
HDR The Bungie Way
Sorting Networks and Their Applications
Bitonic sort overview
Bitonic Sort
DirectCompute bitonic sort sample
Bloom
Practical Implementation of High Dynamic Range Rendering
Motion Blur
Motion Blur Sample
Per-Object Motion Blur
Tonemapping
Uncharted 2: HDR Lighting
Filmic Tonemapping Operators